In this post, we will discuss how to install ClassicPress on shared hosting using one-click installers such as installatron, plesk or softaculous. We will also include short step-by-step guide on using these installers for creating a brand new installation of ClassicPress.
हिंदी में सारांश
इस ब्लॉग पोस्ट में, हम शेयर्ड होस्टिंग पर ClassicPress CMS को इंस्टॉल करने के लिए Installatron, Plesk, और Softaculous जैसे वन-क्लिक इंस्टॉलर्स का उपयोग करने के तरीके पर चर्चा करेंगे। हम ClassicPress के एक नए इंस्टालेशन को बनाने के लिए इन इंस्टॉलर्स का उपयोग करने के लिए एक संक्षिप्त स्टेप-बाय-स्टेप गाइड भी शामिल करेंगे। वन-क्लिक इंस्टॉलर्स का उपयोग करने से ClassicPress को इंस्टॉल करना आसान और कुशल हो जाता है।
Introduction
Installing a content management system (CMS) on your shared hosting can be a daunting task, especially if you are new to website management. However, with the rise of user-friendly one-click installers, the process has become much more accessible and less time-consuming. In this blog post, we will guide you through the steps to install ClassicPress CMS on shared hosting using popular one-click installers such as Installatron, Plesk, and Softaculous.

One-Click Installers for ClassicPress
One-click installers are tools provided by web hosting companies to simplify the installation process of various applications, including CMS platforms like ClassicPress. These tools automate the process, eliminating the need for manual installation and configuration. This not only saves time but also reduces the chances of making mistakes during the installation process.
How to Install ClassicPress on Shared Hosting using installers
While the interface might differ slightly between Softaculous, Installatron, and Plesk, the general steps remain similar.
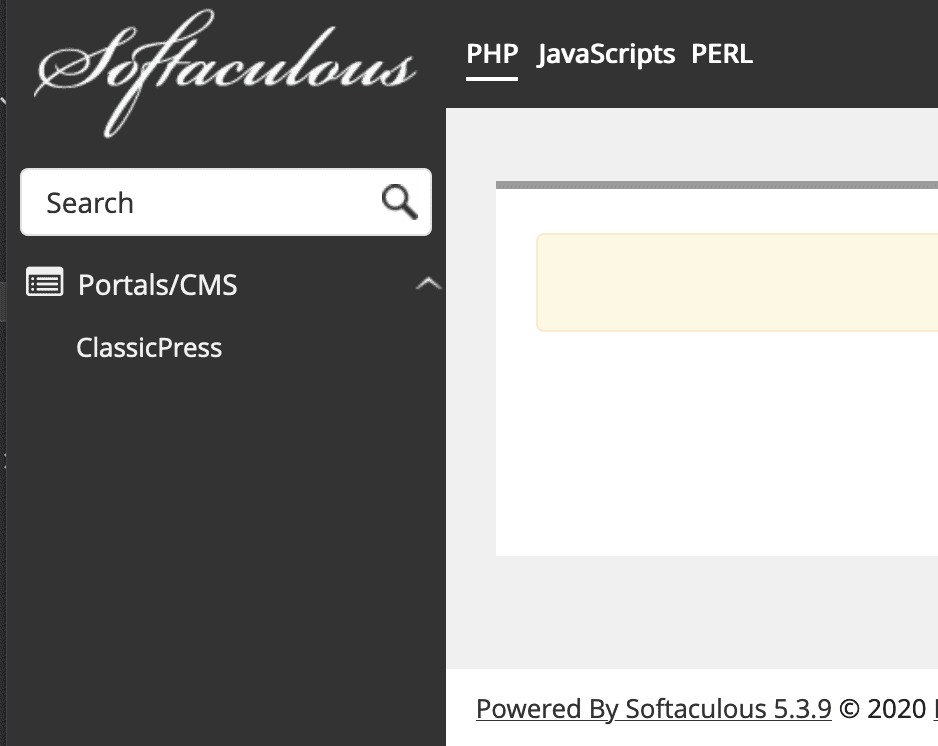
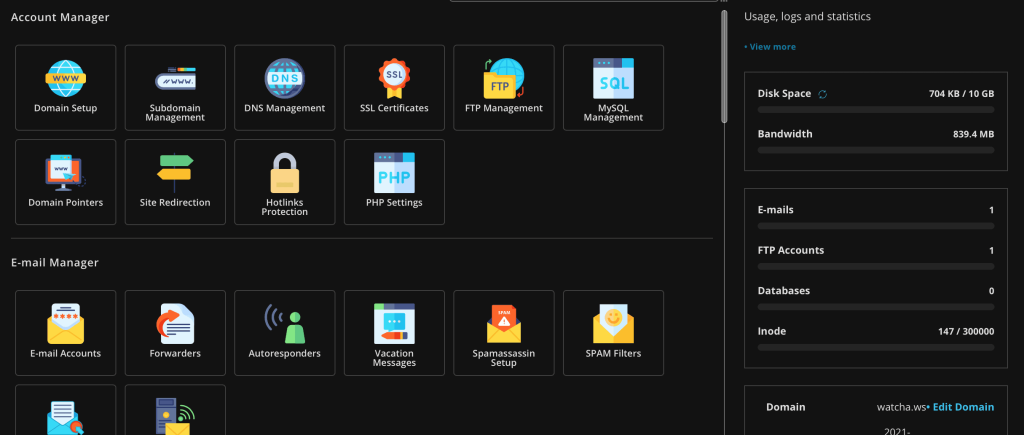
Step 1: Log into your hosting account and access the control panel. Depending on your hosting provider, you will have access to one of the three one-click installers – Installatron, Plesk, or Softaculous.
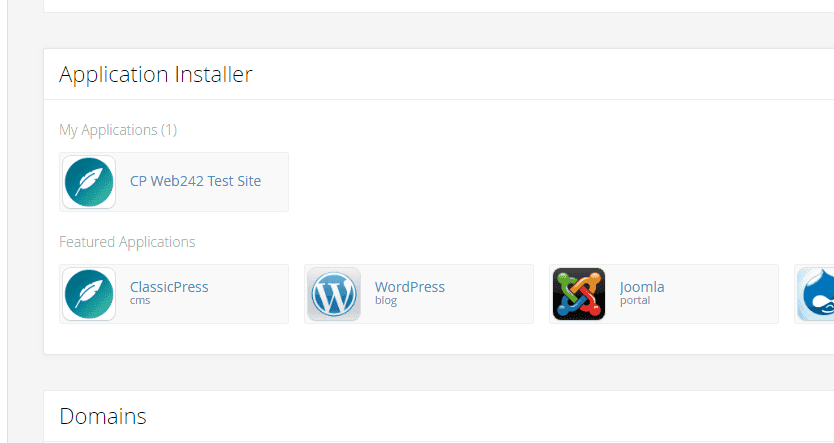
Step 2: Once you have accessed the installer, locate the ClassicPress CMS in the list of available applications.
Use the search bar within the installer to find “ClassicPress.” Click on the ClassicPress icon or link to begin the installation process.
Click on it to start the installation process.
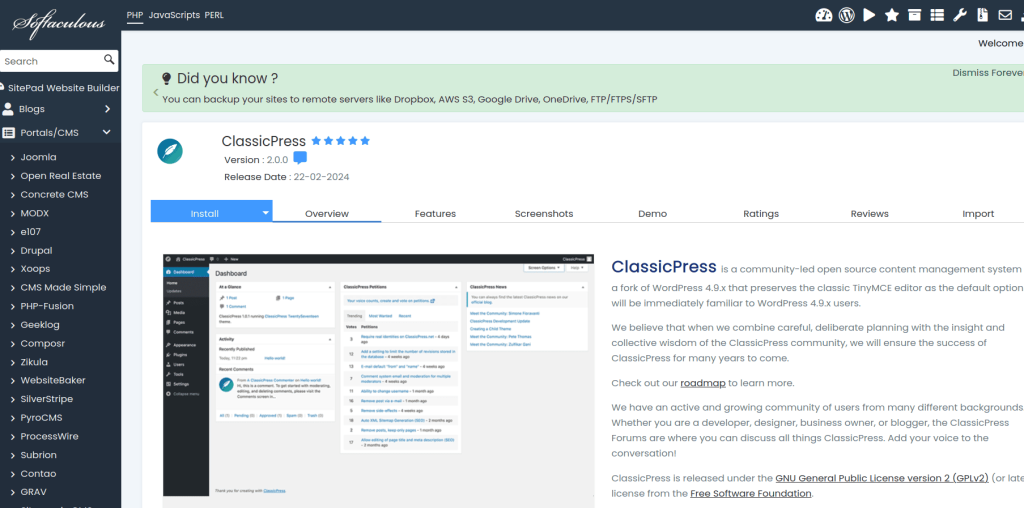
Step 3: Next, you will be prompted to enter the details of your website, including the domain name, site name, and administrator username and password. Make sure to choose a strong password to ensure the security of your website.
Pay attention to the following options:
- Installation URL: Choose the directory where you want ClassicPress installed. Leave it blank to install in the root directory for your domain.
- Site Name and Description: Enter the desired name and a brief description for your website.
- Admin Account: Set a username and a strong password for your ClassicPress administrator account. This account will grant you full control over your website.
- Database Settings: Most installers automatically create a database for your ClassicPress installation. You can usually leave these settings as default.
- Advanced Options: Some installers offer advanced options like automatic updates, plugin/theme selection, and multisite configuration. Review these options and adjust them as needed.
Step 4: After filling in the required information, click on the install button to initiate the installation process. The installer will automatically download ClassicPress, create the database, and configure everything for you. This may take a few minutes, depending on your hosting provider and server speed.
Step 5: Once the installation is complete, you will receive a confirmation message. You can now log into your ClassicPress dashboard and start customizing your website.
Key Takeaways
- One-click installers simplify the installation process of ClassicPress CMS on shared hosting.
- Make sure to meet the minimum system requirements and check your server environment compatibility before installation.
- Double-check file permissions and disable any conflicting plugins or themes to avoid potential roadblocks.

Potential Roadblocks with ClassicPress Installation on Shared Hosting
Despite the straightforward nature of the installation process, there are a few common troubleshooting points to keep in mind. Firstly, ensure that you have met the minimum system requirements for ClassicPress and that your server environment is compatible. It is also crucial to double-check your file permissions and ensure that they are properly set to allow for smooth installation. Additionally, be mindful of any conflicting plugins or themes that may interfere with the installation process.
Troubleshooting Common Installation Issues
While one-click installers simplify the process, you might encounter some issues:
Install ClassicPress on Shared Hosting.
- Incorrect Directory Permissions: Ensure your webserver has the necessary permissions to write files in the installation directory.
- Database Connection Errors: Double-check the database name, username, and password you entered during installation.
- Plugin or Theme Conflicts: If you installed plugins or themes during the setup, deactivate them temporarily to identify if they are causing issues.
- Server Resource Limitations: On shared hosting, exceeding resource limits can cause installation failures. Contact your hosting provider for assistance.
Benefits of Using One-Click Installers
- Simplicity: Ideal for beginners with limited technical knowledge.
- Speed: Installs ClassicPress within minutes, saving time and effort.
- Automation: Eliminates the need for manual configuration and reduces the risk of errors.
- Convenience: Provides a user-friendly interface and clear instructions.
Conclusion
One-click installers offer a convenient and efficient way to install ClassicPress on shared hosting. By following this guide, you can have your ClassicPress website up and running in no time, allowing you to focus on creating content and building your online presence. Remember to explore the vast ecosystem of themes and plugins to customize your website and unlock its full potential.
Resources
- ClassicPress documentation: https://docs.classicpress.net/
- Softaculous: https://www.softaculous.com/apps/cms/ClassicPress
- Installatron: https://installatron.com/classicpress

This post was published under the category Installation of ClassicPress