Learn how to install ClassicPress using wp-cli command line tool on a virtual private server,. This step-by-step guide walks you through the process, including installing wp-cli, downloading ClassicPress, configuring the database, and running the installation.
For most beginners, using a control panel or 1-click installer is likely the easiest way to get started with ClassicPress on a VPS. Intermediate users can explore WP-CLI or server management scripts, but should be comfortable with the added complexity. WP-CLI is a great tool for maintenance in any case.
Introduction
This blog post provides a concise guide on installing ClassicPress using WP-CLI. It covers the necessary steps, from connecting to your server via SSH and installing WP-CLI to downloading ClassicPress, configuring the database, and running the installation. The post also includes general guidance on compatibility, backups, and testing in a staging environment before deploying live.
यह ब्लॉग पोस्ट WP-CLI का उपयोग करके ClassicPress संस्करण 2 को स्थापित करने पर एक संक्षिप्त गाइड प्रदान करता है। यह SSH के माध्यम से अपने सर्वर से कनेक्ट करने और WP-CLI को स्थापित करने से लेकर ClassicPress को डाउनलोड करने, डेटाबेस को कॉन्फ़िगर करने और इंस्टॉलेशन चलाने तक के आवश्यक चरणों को कवर करता है। पोस्ट में संगतता, बैकअप और लाइव तैनात करने से पहले स्टेजिंग वातावरण में परीक्षण पर सामान्य मार्गदर्शन भी शामिल है।
Prerequisites before you install
Before you begin the installation process, ensure that your server meets the following requirements:
Server requirements for ClassicPress using wp-cli
- PHP version 8.0 or higher
- MySQL 5.7+ or MariaDB 10.3+
- Apache 2.4+ with mod_rewrite or Nginx or LiteSpeed
- SSL certificate for HTTPS
See this post to understand how to install web server, php and mysql before proceeding with the below steps.

Compatibility considerations
- Check if your hosting environment and existing plugins are compatible with ClassicPress v2.
- Use a migration plugin to switch from WordPress to ClassicPress.
Backup Plan
Always create a complete backup of your website and database before making any changes. This will ensure that you can restore your site if anything goes wrong during the installation process.
Installing ClassicPress v2 with WP-CLI
Follow these steps to install ClassicPress version 2 using WP-CLI.

Connect to your server via SSH
Use the following command to connect to your server via SSH:
ssh user@your.server.ip
Install WP-CLI
If WP-CLI is not already installed, use these commands to install it:
curl -O https://raw.githubusercontent.com/wp-cli/builds/gh-pages/phar/wp-cli.phar
chmod +x wp-cli.phar
sudo mv wp-cli.phar /usr/local/bin/wp
Create a directory for ClassicPress
Create a directory for the ClassicPress installation and navigate into it:
mkdir classicpress && cd classicpress
Download ClassicPress
Download the latest ClassicPress release zip file using WP-CLI:
wp cli download --path=classicpress.zip https://github.com/ClassicPress/ClassicPress/releases/latest/download/classicpress.zip
Unzip and upload ClassicPress files
Unzip the downloaded ClassicPress release:
unzip classicpress.zip
Create wp-config.php
Create the wp-config.php file with the necessary database details:
wp config create --dbname=classicpress --dbuser=root --dbpass=password
Run the installation
Install ClassicPress using the following command:
wp core install --url=your.domain --title="Your Site Title" --admin_user=admin --admin_password=password --admin_email=admin@your.domain
Activate plugins (optional)
If needed, activate any required plugins:
wp plugin activate shortpixel-image-optimizer
General Guidance
Using Composer
If you prefer using Composer to install ClassicPress, follow these steps:
- Install Composer on your server.
- Create a composer.json file in the root directory of your website with the necessary configuration.
- Run
composer installto download and install ClassicPress v2 and its dependencies.
Testing in a staging environment
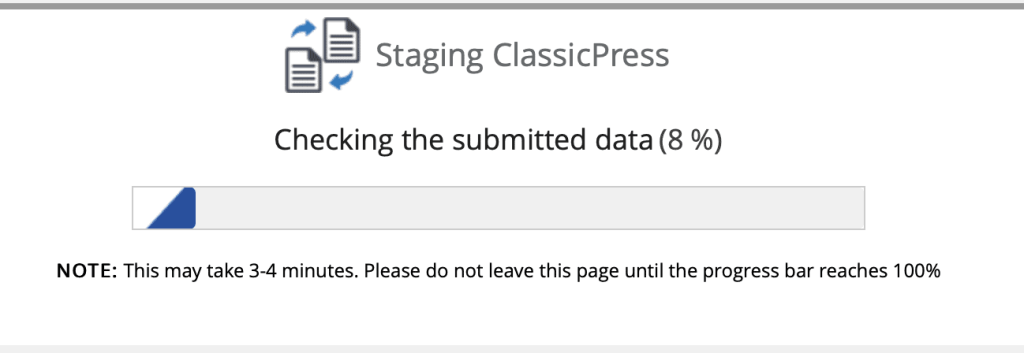
If possible, set up a staging environment to test the installation before deploying it live. This will allow you to ensure that everything is working as expected without affecting your live site.
Takeaways : Install classicpress using wp-cli
Installing ClassicPress using WP-CLI is a straightforward process that can be completed in a few steps. By following this guide, you can quickly set up ClassicPress on your server, taking advantage of the command line tool to streamline the installation process.
- Ensure your server meets the requirements for ClassicPress v2.
- Always create a complete backup before making any changes.
- Test the installation in a staging environment before deploying live.
- Follow the step-by-step instructions for a smooth installation using WP-CLI.
- Refer to the official ClassicPress documentation for the most up-to-date information.

Additional resources to install ClassicPress using wp-cli
For more information and support, refer to the official ClassicPress documentation and community forums:
- ClassicPress Documentation
- ClassicPress Community Forums
- wp-cli and wp-cli documentation
This post titled install ClassicPress using wp-cli was published under the category classicpress installation.